Are you wondering to migrate your WordPress site from one host to another? For it are you looking for some in-depth and step-by-step guide that can help you to transfer your WordPress site from one host to another?
So, this article is for you. Because by reading through this article you will be able to.
- Backup Your WordPress site.
- Restore Your WordPress site.
- Migrate or Transfer WordPress to the new host for free.
Let’s dive in.
Things you will Learn
What is WordPress Migration?
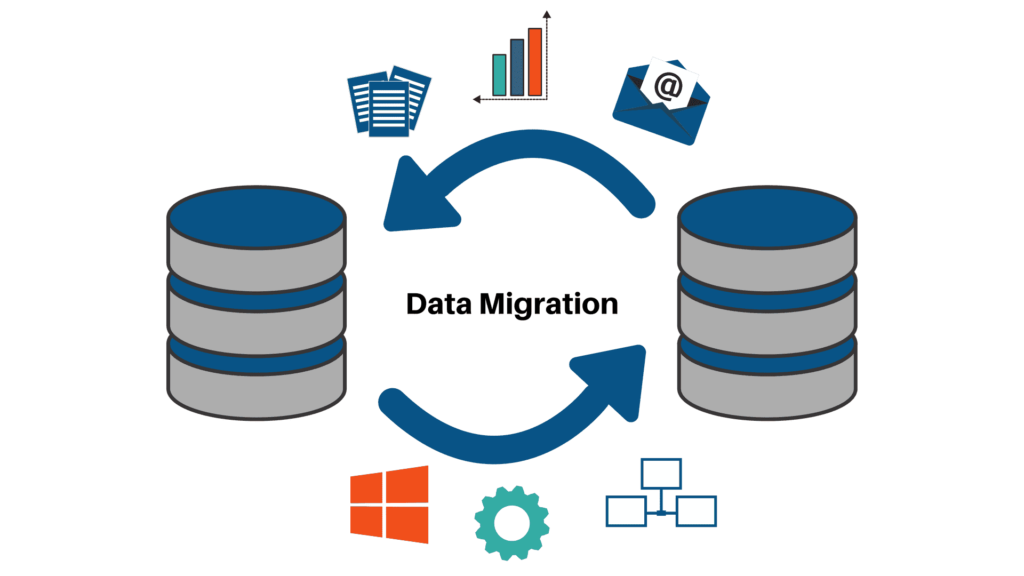
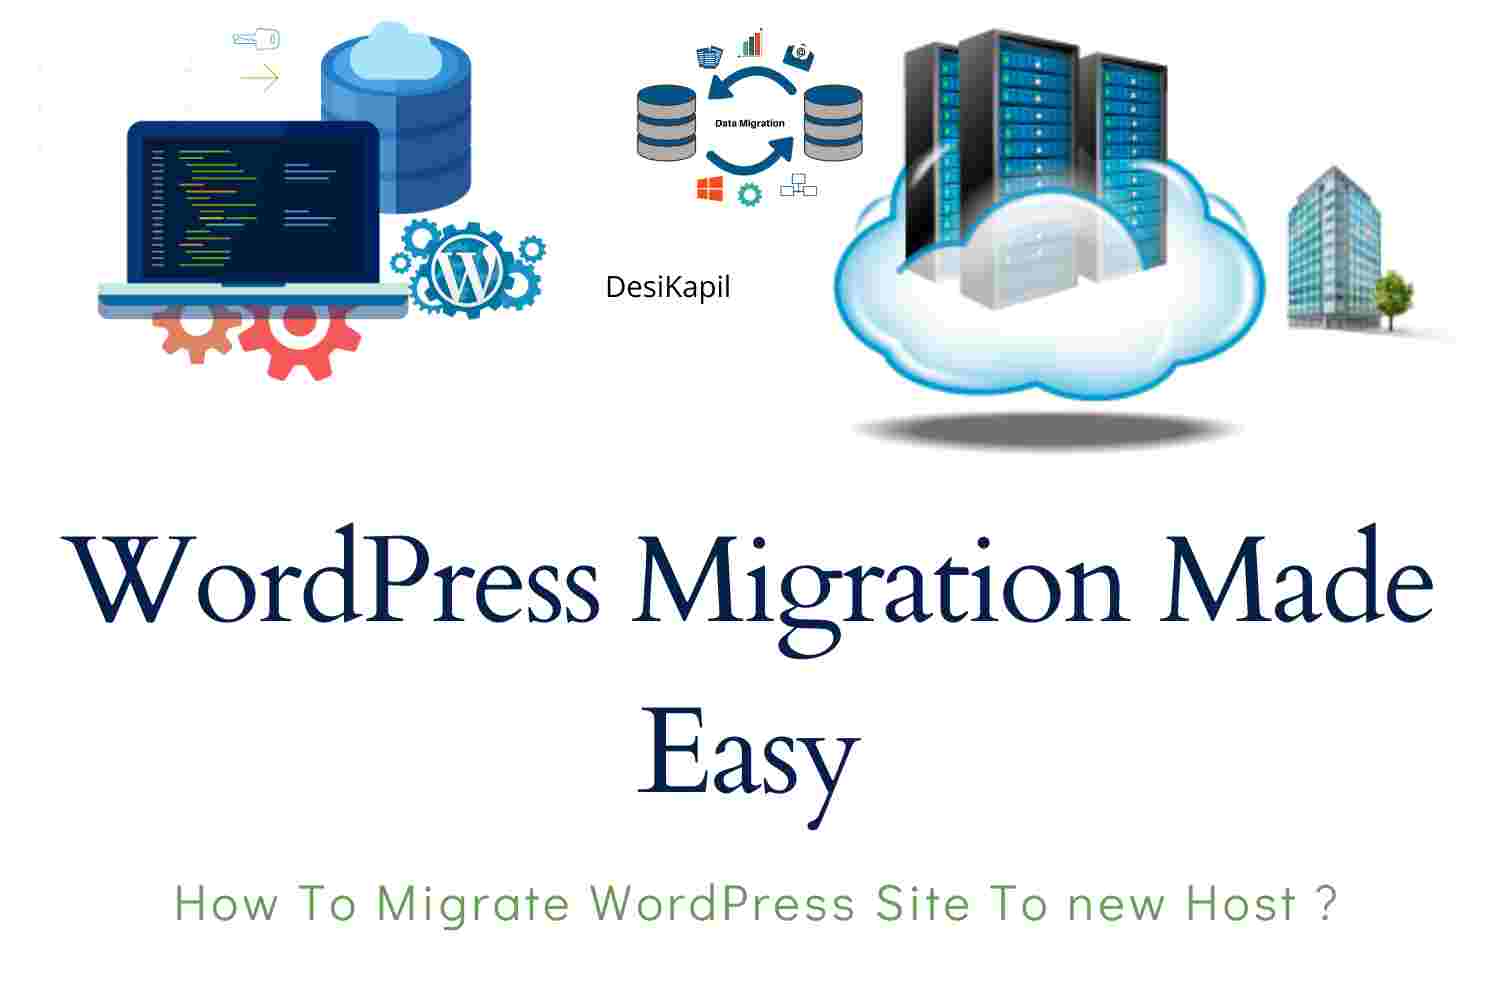
WordPress migration is the way that can help you while switching your Web Hosting or server. The concept of WordPress Migration is helpful when you wish to transfer your WordPress site from one host to another host. So, in this situation, you can migrate or transfer your WordPress site.

There are plenty of ways to migrate your WordPress site. Either you can use plugins, or you can Migrate your site manually. Or you can use some third-party migration services.
But the problem with the migration plugins or third-party services is that they are not free. You have to pay charges to use these services.
So, How to migrate WordPress for free? Well, the answer is manual migration because it is free and easy to do.
How to Migrate WordPress Site Manually?
To migrate your WordPress site, first, you will need a new server or web hosting where you can transfer your site. If you don’t have a host now, I would highly recommend you purchasing web hosting from Bluehost.
Because Bluehost provides you the best services, good customer support, and a 99% uptime guarantee. Bluehost is the best option to host your WordPress site in a risk-free environment.
For more info, you can check out our in-depth review of the Bluehost web hosting provider. This guide will tell you why they are best.
Or you can check our in-depth guide on 7-Best and affordable web hosting providers to pick a web hosting that suits your needs.
Backup Your WordPress Site

To migrate your WordPress site, first, you have to back up your entire site inside the computer. To backup your WordPress site, first login inside your old host. Then back up all the files and folders of your WordPress site from the root directory of your old server.
Then backup your WordPress site database inside your computer.
If you don’t know how to back up a WordPress site? Then you can check our in-depth guide on how to easily Backup your WordPress site inside a local computer?
If you don’t know how to back up the WordPress database? feel free to check our step-by-step guide on 2 easy ways to backup and restore WordPress database.
Restore WordPress to New Host
After creating a successful backup of your WordPress site inside your local computer. Now it is time to restore it at the new host. If you still haven’t purchased the new server. Go and purchase it, here is your deal.
Now, Login inside the c-panel of your new host and upload all the files and folders of your WordPress site from the backup. Then restore the database.
If you want an in-depth guide on WordPress backup restoration. Feel free to check our step-by-step guide on how to restore WordPress from a backup?
Here is your step-by-step guide to restore WordPress database from a backup.
Editing The WP-config.php file settings
As you will restore the database of your WordPress site to the new host. First, you will need to create a new database.
After that, you have to edit(change) the database settings inside the wp-config.php file which you can find inside the root directory or public_html folder.
Why change wp-config.php file settings? Because wp-config.php is a file that was generated by WordPress during the installation. Inside this file WordPress stores the information of the database. (There is also some more settings (auth key, debug mode) are defined inside the wp-config file. But you don’t need to worry about them.)
In order to point your WordPress site to the right database you have to change the “MySQL settings” inside the wp-config.php file.
// ** MySQL settings - You can get this info from your web host ** //
/** The name of the database for WordPress */
define( 'DB_NAME', 'Name of Your database Here' );

/** MySQL database username */
define( 'DB_USER', 'Name of the Database user' );

/** MySQL database password */
define( 'DB_PASSWORD', 'Password Here' );

/** MySQL hostname */
define( 'DB_HOST', 'localhost' );
You just need to check for the DB_NAME, DB_USER, DB_PASSWORD, and DB_HOST. Inside these fields enter the right values of your database and database user where these fields are defined inside the wp-config file.
define( 'DB_USER', 'Name of the Database user' );the code above is for database name it is available inside the wp-config file of your WordPress site. This field is defined for the database name. So, enter the name of the database which you have created.
Also, do the same for DB_USER, and DB_PASSWORD.
/** MySQL database username */
define( 'DB_USER', 'Name of the Database user' );

/** MySQL database password */
define( 'DB_PASSWORD', 'Password Here' );
Still confused? don’t worry..! read our step-by-step article on, How to backup and restore WordPress database?
Changing the DNS (Name server) Records
This is the last step to make your WordPress migration successful. Well, first of all, congratulations.! you have successfully restored your WordPress site to the new server.
But the problem is that your domain is still pointing to your older host. In order to point out your domain name to your new host, you will have to change the Nameservers of your domain.
To change the Nameservers of your domain, first login inside your new host and look for the Nameservers. Copy them and login inside your domain account for example(Go-daddy).
From your domain account, head over the DNS > Then Nameservers.
Click on Change. Paste your nameservers and save the settings.
Note, Sometimes updating Nameservers may take up-to 24 Hours, so be calm. If you catch any error or trouble while changing nameservers, kindly contact your domain name provider support.
Feel free to drop me a comment regarding any issue or any doubt. I’ll try my best to help you out.
Cheers…!


![Read more about the article 7 Best WordPress Backup Plugins Compared [ Free And Paid ]](https://www.desikapil.com/wp-content/uploads/2021/04/WordPress-Backup-Plugins-Comapred-1-compressed-300x200.jpg)
